"Speedo Rebuild"
or
"You were going HOW fast?"

An Article by Larry Paulick
April, 2002
Preface: Larry Paulick is not only providing great articles on performance improvements in acceleration and speed, he is also concerned with safety. This article will allow you to fix that needle bouncing speedometer that says you were doing 120 on the back straight, and that lying odometer that makes you think you're been getting 38 m.p.g.. On the other hand, maybe leave it alone? Don't forget those new O-rings for the rest of the instruments as well. See TigersUnited Forum for source.
Editor
Page 1
Speedometer Disassembly and Cleaning
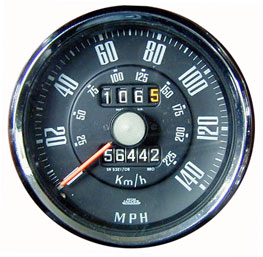
My MKI speedometer was jumping at speed, and so I decided to clean and lubricate it. The following is what I learned on, first disassembling and cleaning an Alpine speedo, and then the Tiger unit. They are essentially the same, and the procedures, the same.
Disassembly
Note: – All references are looking at the speedo, as you would, in the car. A reference point on the speedo, is the odometer shaft, which is pointing down in the car.
After removing the speedo from the car, place it on a clean work surface. The bezel is removed by turning the bezel on the speedo container, which I will call the can.
You may have to bend the tabs on the back of the bezel to loosen the bezel. It also helps to use a rubber jar opener to grasp the bezel while twisting. The bezel tabs then align with slots in the can, and the bezel can be removed, with the glass, and what is left of the gasket sealing the glass to the can.
Remove this and set it aside. Also remove the inner concave surround, that is tight to the can, and set it aside as well.
The next step is to remove the speedo needle from the shaft. Be very careful in this step, so as not to damage the shaft and needle.

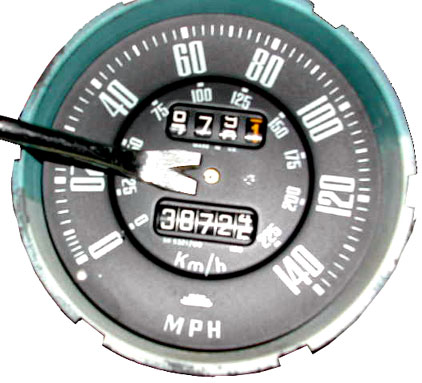
Needle Removal Tool
Using a nail remover, place the tool fully under the needle, so that it is under the needle body, and resting on one of the 2 screws that hold the faceplate to the inner workings.
Gently, but firmly pry up on the needle. It may be on tight, or it may be on loose, or it may fly off into space, so take your time in doing this.
Set the needle aside, and remove the 2 screws holding the face plate on. Set the faceplate and screws aside.
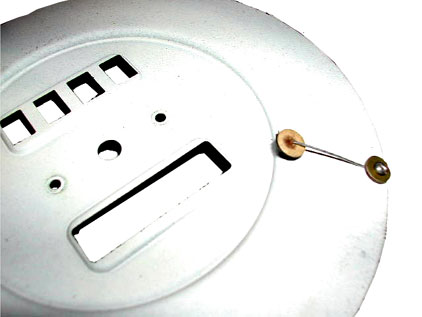
Turn the faceplate over and note that the needle rest on the front of the faceplate is accurately a spring that is attached on the back with a rivet. You will need to note this for the reassembly procedure.

Needle Rest, backside
The shaft extension for the odometer reset shaft is removed next. The shaft extension is held on to the shaft, by either a small screw, or a press fit pin, that needs to be driven out. If it is a pin, do this carefully, and set the extension shaft and pin or screw aside.
Turn the can over, and there are 2 screws in the back, that hold the speedo mechanism in the can. Remove these 2 screws, and set them aside.
The speedo mechanism can now be removed from the can, by tilting the mechanism in the can, and removing it.
 **
**


